
What Happens During the Final Walkthrough of a New Home?
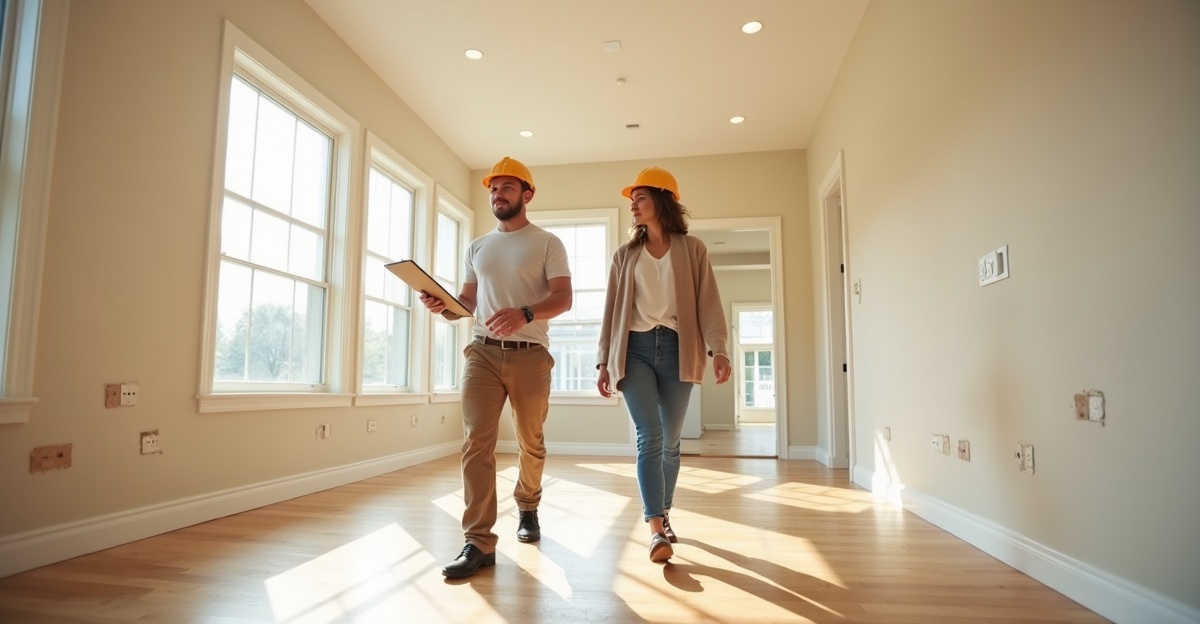
The final walkthrough new home process marks the last structured review before closing. We meet with the builder and homeowner to confirm that construction matches approved plans, specifications, and contract documents. We move room by room and evaluate finishes, systems, exterior components, punch list items, documentation, and maintenance details. We make sure the home stands ready for handoff.
Key Takeaways
- The final walkthrough centers on workmanship, finish quality, system performance, and alignment with the agreed scope of work—not municipal inspections or lender requirements. We focus on what we built and how it performs.
- We review the home together in a clear, room-by-room process. We document findings in a written punch list with direct descriptions and supporting photos to prevent confusion later.
- We test and inspect interiors, exteriors, mechanical systems, appliances, and safety features with a structured checklist. We confirm proper installation and reliable operation before closing.
- We sort punch list items by priority. We address safety concerns first, then functional issues, and finally cosmetic corrections. We assign clear timelines for completion so expectations stay aligned.
- We cover warranty details, system orientation, and maintenance guidance during the walkthrough. We prepare all parties for closing and a smooth key handoff.
The Purpose of the Final Walkthrough New Home Process
The final walkthrough new home process is the last structured review of completed construction before closing or project handoff. It gives us and the homeowner a clear opportunity to confirm the house was built according to the approved plans and specifications. We verify workmanship, review finish details, and document any remaining items on a home punch list.
This step serves as a collaborative quality-control review. It is not a confrontation. We approach it as a team, working through the home together to ensure everything meets expectations outlined in the contract documents.
The walkthrough is different from municipal inspections, code compliance reviews, lender appraisals, or third-party inspections. Those occur at various stages and focus on safety, structural integrity, and lending requirements. The final walkthrough focuses on performance, finish quality, and alignment with the agreed scope of work.
Clear expectations matter. Not every item can be corrected on the spot. Some fixes require specialty trades or material orders. We document those items carefully, schedule them, and prioritize them based on urgency.
Most final walkthroughs take between one and three hours, depending on the home’s size and complexity. Larger custom homes may take longer. Smaller homes with straightforward finishes move more quickly. We plan it so there’s enough time to review the house thoroughly without feeling rushed.
Who Attends, How It’s Conducted, and What to Bring
The final walkthrough is typically attended by the builder or site superintendent and the homeowner. In some cases, a project manager is also present. We want decision-makers in the room so questions can be answered directly and clearly.
We conduct the review room by room, following a consistent path through the house. That usually includes:
- All interior living spaces
- Bathrooms and kitchen
- Laundry areas
- Garage
- Attic access, where applicable
- Exterior elevations, grading, and hardscapes
This approach keeps the review organized and reduces the chance of missing details.
We document findings in writing, often using a shared digital punch list system. Clear descriptions help avoid confusion. We often include photos to pinpoint location and condition. Specific documentation supports efficient follow-up.
Homeowners benefit from bringing a few practical items:
- Notebook and pen
- Phone or camera for photos
- Copy of plans or specifications, if helpful
We encourage owners to take their time. They should open and close doors, operate windows, turn on faucets, and switch lights on and off. This is also the time to ask practical questions about materials, finishes, and operation of systems. Steady communication sets the tone for a clean handoff.
Using a Final Inspection Checklist: What to Review Inside and Out
A final inspection checklist keeps the process thorough and systematic. We use it to confirm that finishes, systems, and structural elements meet the agreed standards. A checklist reduces guesswork and ensures consistency from one project to the next.
Key Areas to Cover During the Review
Interior finishes deserve close attention:
- Drywall should be smooth, with consistent texture and paint coverage.
- Trim should align properly at corners and joints.
- Flooring transitions must be secure and level.
- Cabinet doors and drawers should open smoothly and align evenly.
- Countertops and backsplash installations should be secure and free of visible damage.
Doors and windows should operate without sticking. Locks must engage properly. Weather seals should sit tight to prevent drafts, which is especially important during Idaho Falls winters.
Electrical components need verification. We test outlets with a small device, confirm switches operate the correct fixtures, and check GFCI or AFCI locations. Light fixtures should function and be securely mounted.
Plumbing systems require hands-on checks. We run faucets and showers, observe drainage speed, and look underneath sinks for leaks. Fixtures should be secure and free from blemishes.
HVAC systems must operate through both heating and cooling cycles, depending on the season. We review thermostat settings and basic programming. Insulation and air sealing play a significant role in winter performance here. Cold winters place real demands on heating systems, so airflow and efficiency matter.
Appliances included in the project scope should be installed correctly and tested. That includes ranges, dishwashers, microwaves, and laundry units if provided.
Exterior components require equal attention. We review siding, visible flashing points, and roofing from the ground or accessible areas. In Idaho, roof structure and snow load capacity are significant design considerations. We also evaluate grading and drainage. Proper slope away from the foundation helps protect against freeze-thaw cycles and spring runoff.
Garage doors and openers should operate smoothly. Decks, patios, and exterior concrete should show proper finishing and joint spacing. Safety features such as smoke detectors, carbon monoxide detectors, handrails, and guardrails must be installed and secure.
A structured checklist helps confirm that the home performs well, not just that it looks finished.
How the Home Punch List Is Created and Managed
The home punch list is the written record of incomplete or corrective items identified during the walkthrough. It formalizes what we observe and agree upon.
We document each item clearly. That includes the specific location, a concise description of the concern, and photos if useful. For example, we might note “north bedroom – small paint touch-up above window trim” rather than writing something vague.
Some items are cosmetic. These include small paint touch-ups, minor caulking adjustments, or hardware alignment. Other items are functional. Examples include a misaligned door latch or a plumbing leak. Functional and safety-related items take priority.
We typically address issues in this order:
- Safety concerns
- Functional system corrections
- Cosmetic touch-ups
Timing depends on subcontractor availability, material lead times, and overall complexity. While some minor corrections can happen quickly, others require scheduled return visits. We communicate expected timelines clearly so there is no confusion about next steps.
A controlled punch list process reflects a well-organized build. It shows accountability without overpromising immediate results. Predictable follow-through builds trust at the final stage of construction.
Documentation, Warranties, and Handoff Details
The final walkthrough also includes a review of documentation. We provide warranty information for materials and equipment, along with details about builder warranty coverage. Homeowners should understand what is covered, for how long, and what maintenance is required to keep coverage valid.
We also provide appliance manuals and maintenance information. Lien releases may be issued as part of the closing package, depending on the project structure.
An important part of handoff is orientation. We show homeowners:
- The main water shut-off location
- The electrical panel and how breakers are labeled
- HVAC filter locations and how often to replace them
- Any additional access panels for plumbing or mechanical systems
We review basic maintenance practices. In Idaho Falls, seasonal HVAC filter changes are essential. Snow accumulation and freeze-thaw cycles make proper drainage around the foundation critical. Roof and gutter maintenance play a role in preventing ice dams and water intrusion.
This practical orientation supports long-term performance. It also reinforces shared accountability. A well-built home performs best when maintained consistently.
Timeline to Closing and What Happens After the Walkthrough
After the final walkthrough new home process is complete, we move into punch list completion and final preparations for closing. Trades return as scheduled to address documented items. In some cases, we conduct a short recheck to confirm corrections were completed properly.
Once punch list items are resolved or scheduled according to agreement, we prepare for closing or key handoff. Final paperwork is reviewed, and ownership officially transfers.
A structured walkthrough reduces uncertainty. It prevents misunderstandings at closing and gives both parties a documented understanding of the home’s condition.
For those planning to build within the next 6 to 12 months in Idaho Falls or surrounding areas, early conversations help set realistic expectations. We encourage reaching out to discuss the construction process, scheduling, and quality control steps. Clear communication on the front end makes the final walkthrough a smooth and predictable part of bringing a new home to completion.